
In this blog I describe how you can run easily a multi-node Elasticsearch cluster with security enabled and access it with Kibana.
Note, that this setup is not for production. It is recommended to run only one node of Elasticsearch per server, but this setup is very useful for a development environment testing failover and different configurations.
After downloading the elasticsearch distribution package and unzipping it we modify the cluster name by editing the elasticsearch.yml found in the config folder. This configuration must be the same for all nodes belonging to a cluster.
cluster.name: my-cluster
I am going to name the 3 nodes as node1, node2 and node3. In order to specify this information the -E option can be used when starting up the Elasticsearch nodes.
$ ./bin/elasticsearch -E node.name=node1
In another terminal check that the node1 is up and running.
$ http :9200
{
    "cluster_name": "my-cluster",
    "cluster_uuid": "2296HDVsSuO2pFyKwT_mEg",
    "name": "node1",
    "tagline": "You Know, for Search",
    "version": {
        "build_date": "2018-11-16T02:22:42.182257Z",
        "build_flavor": "default",
        "build_hash": "8c58350",
        "build_snapshot": false,
        "build_type": "tar",
        "lucene_version": "7.5.0",
        "minimum_index_compatibility_version": "5.0.0",
        "minimum_wire_compatibility_version": "5.6.0",
        "number": "6.5.1"
    }
}
Next, in another terminal start the node2 with:
./bin/elasticsearch -E node.name=node2
You will notice that it fails with
org.elasticsearch.bootstrap.StartupException: java.lang.IllegalStateException:
failed to obtain node locks, tried with lock id [0]; maybe these locations are not
writable or multiple nodes were started without increasing
[node.max_local_storage_nodes] (was [1])?
It turns out, Elasticsearch is configured to prevent more than one node from sharing the same data path. By setting the node.max_local_storage_nodes to 3 we can force Elasticsearch to allow 3 nodes to use the same settings.
After configuring this in the elasticsearch.yml file we can start the other 2 nodes in separate terminals
$ ./bin/elasticsearch -E node.name=node2
$ ./bin/elasticsearch -E node.name=node3
Notice that the nodes are started with different ports for HTTP (9200, 9201, 9202) and for transport (9300, 9301, 9301) without any configuration needed from our side.
We can check the cluster nodes using the following command.
$ http :9200/_cat/nodes\?v

ip        heap.percent ram.percent cpu load_1m load_5m load_15m node.role master name
127.0.0.1           28         100  31    4.00                  mdi       *      node1
127.0.0.1           33         100  31    4.00                  mdi       -      node2
127.0.0.1           33         100  33    4.00                  mdi       -      node3
In the logs of the master node (node1 in this case) you should see a warning specifying the following:
[2018-12-05T21:53:45,270][WARN ][o.e.d.z.ElectMasterService] [node1] value for setting
"discovery.zen.minimum_master_nodes" is too low. This can result in data loss!
Please set it to at least a quorum of master-eligible nodes (current value: [-1],
total number of master-eligible nodes used for publishing in this round: [2])
You can read more about this split brain problem here and is very important to set it in a production environment.
Since this discovery.zen.minimum_master_nodes setting must be shared for all nodes we set it in the elasticsearch.yml configuration file shared between the nodes.
discovery.zen.minimum_master_nodes: 2
It is worth noticing that using the shared data folder approach the data for each node is separated into 0, 1, 2 … folders depending how many nodes you have.
Elastic Security
Next, let’s secure this 3-node Elasticsearch cluster with Elastic Security. By default Elastic comes with a basic license which does not include any security support.
$ http :9200/_xpack/license
{
    "license": {
        "issue_date": "2018-12-04T21:01:53.652Z",
        "issue_date_in_millis": 1543957313652,
        "issued_to": "elasticsearch",
        "issuer": "elasticsearch",
        "max_nodes": 1000,
        "start_date_in_millis": -1,
        "status": "active",
        "type": "basic",
        "uid": "eef0542d-4dca-4345-84b0-c4e775a17f67"
    }
}
In order to have security support we need to upgrade to 30-day free trial license using the below command:
$ http post :9200/_xpack/license/start_trial\?acknowledge=true
This way we get all the platinum features like Machine Learning, Graph capabilities, Alerting, Security, etc. Note that except security everything is enabled.
$ http :9200/_xpack
{
    "build": {
        "date": "2018-11-16T02:25:41.823324Z",
        "hash": "8c58350"
    },
    "features": {
        "graph": {
            "available": true,
            "description": "Graph Data Exploration for the Elastic Stack",
            "enabled": true
        },
        "logstash": {
            "available": true,
            "description": "Logstash management component for X-Pack",
            "enabled": true
        },
        "ml": {
            "available": true,
            "description": "Machine Learning for the Elastic Stack",
            "enabled": true,
            "native_code_info": {
                "build_hash": "1c5fe241dd9aea",
                "version": "6.5.1"
            }
        },
        "monitoring": {
            "available": true,
            "description": "Monitoring for the Elastic Stack",
            "enabled": true
        },
        "rollup": {
            "available": true,
            "description": "Time series pre-aggregation and rollup",
            "enabled": true
        },
        "security": {
            "available": true,
            "description": "Security for the Elastic Stack",
            "enabled": false
        },
        "watcher": {
            "available": true,
            "description": "Alerting, Notification and Automation for the Elastic Stack",
            "enabled": true
        }
    },
    "license": {
        "expiry_date_in_millis": 1546687071587,
        "mode": "trial",
        "status": "active",
        "type": "trial",
        "uid": "e23230ab-616b-4f21-89bf-98c1eb052a15"
    },
    "tagline": "You know, for X"
}
In order to enable security we need to add the following into the elasticsearch.yml configuration file
xpack.security.enabled: true
After restarting the nodes you will get 401 Unauthorized for all Elastic HTTP endpoints without specifying credentials.
$ http :9200
{
    "error": {
        "header": {
            "WWW-Authenticate": "Basic realm=\"security\" charset=\"UTF-8\""
        },
        "reason": "failed to authenticate user [elastic]",
        "root_cause": [
            {
                "header": {
                    "WWW-Authenticate": "Basic realm=\"security\" charset=\"UTF-8\""
                },
                "reason": "failed to authenticate user [elastic]",
                "type": "security_exception"
            }
        ],
        "type": "security_exception"
    },
    "status": 401
}
We can set the passwords for the reserved users elastic, apm_system, kibana, logstash_system, beats_system,remote_monitoring_user using the following command
$ ./bin/elasticsearch-setup-passwords interactive
For this blog example I setelastic as password for each reserved user.
$ http :9200 -a elastic:elastic
Kibana
In order to use Kibana with our Elasticsearch cluster we need to configure the user which is used by Kibana to connect to the cluster inside the kibana.yml configuration file
elasticsearch.username: "kibana"
elasticsearch.password: "elastic"
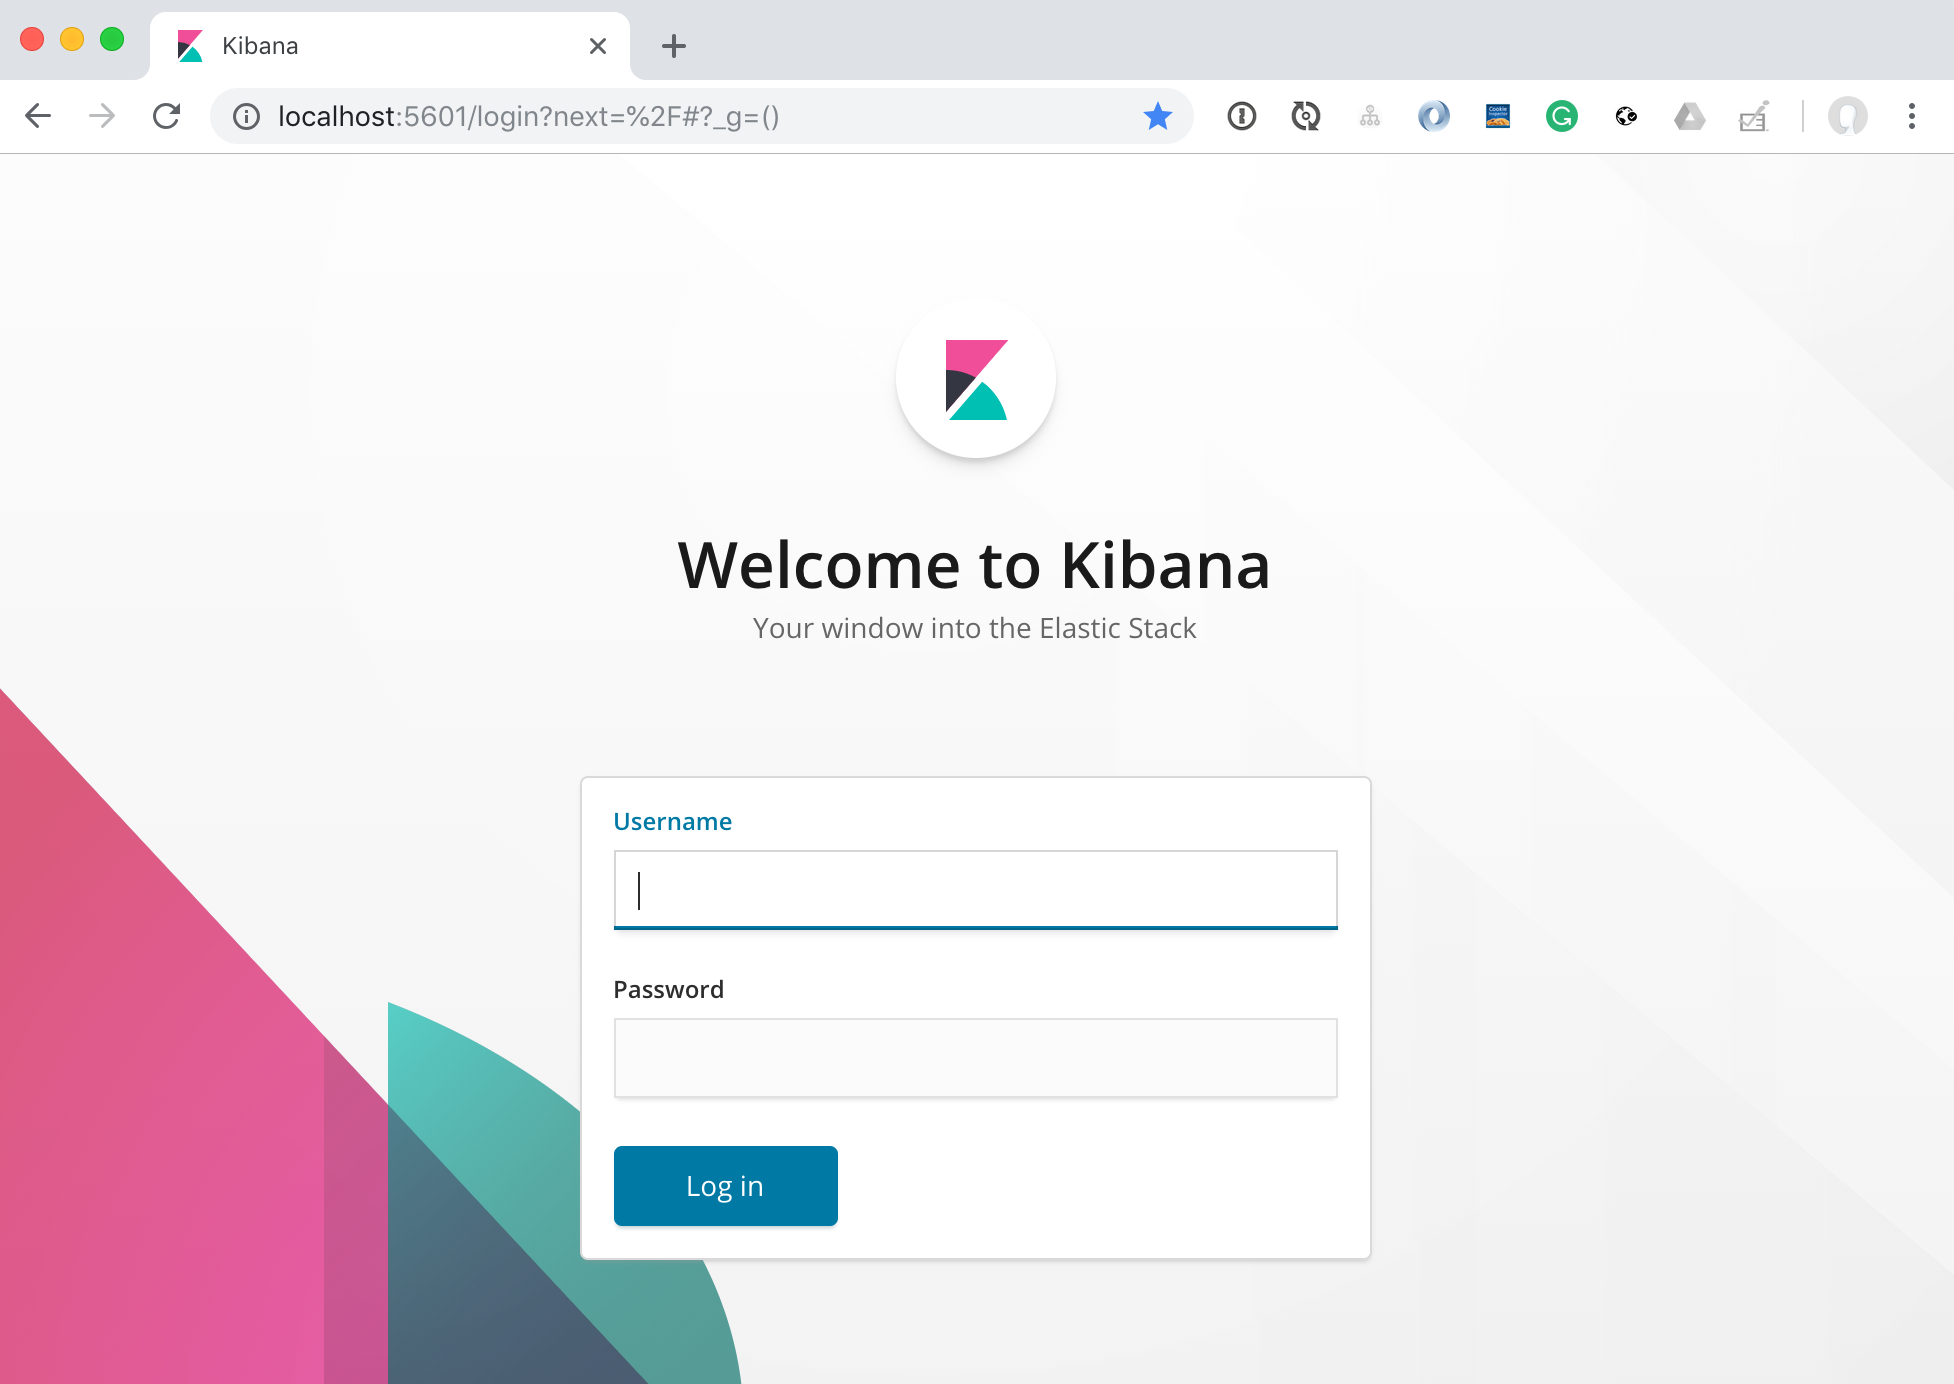
And now we can login with the elastic user.
Conclusion
We setup a 3-node cluster using shared data path and configured Elastic Security. We also setup Kibana to connect to our Elasticsearch cluster.