
X-Pack is a group of plugins for Elasticsearch and Kibana which enhances the functionality of the Elastic Stack. We will focus in this blog post on the Security plugin but there are other plugins for Monitoring, Graph and Machine Learning.
Install Elasticsearch
Let’s install Elasticsearch first. With homebrew is super easy on Mac:
brew install elasticsearch
Install X-Pack into Elasticsearch
Next we install the X-Pack plugin using the following command:
elasticsearch-plugin install x-pack
We can verify that the plugin was installed using the command:
elasticsearch-plugin list
x-pack
	x-pack-core
	x-pack-deprecation
	x-pack-graph
	x-pack-logstash
	x-pack-ml
	x-pack-monitoring
	x-pack-security
	x-pack-upgrade
	x-pack-watcher
Starting from Elasticsearch 6.0 the elastic user uses a default bootstrap password instead of changeme. This password is set in the keystore.seed keystore in the bootstrap.password entry and was created when the X-Pack was installed.
In order to set a new password for the elastic user we can use the following command:
/usr/local/Cellar/elasticsearch/6.2.4/libexec/bin/x-pack/setup-passwords interactive
With this command we set the passwords for all the reserved users elastic,kibana,logstash_system.
Next we can start elasticsearch:
elasticsearch
In the logs we will see that a 30 day trial license for X-Pack is used.
[2018-08-10T20:29:39,236][INFO ][o.e.l.LicenseService ] [x3swaP_] license [167cd147-1515-4ac3-9016-118877aa1c44] mode [trial] - valid
Next we can verify that we need to provide username and password otherwise we get 401 Unauthorized response.
http :9200

HTTP/1.1 401 Unauthorized
WWW-Authenticate: Basic realm="security" charset="UTF-8"
content-encoding: gzip
content-length: 191
content-type: application/json; charset=UTF-8

{
    "error": {
        "header": {
            "WWW-Authenticate": "Basic realm=\"security\" charset=\"UTF-8\""
        },
        "reason": "missing authentication token for REST request [/]",
        "root_cause": [
            {
                "header": {
                    "WWW-Authenticate": "Basic realm=\"security\" charset=\"UTF-8\""
                },
                "reason": "missing authentication token for REST request [/]",
                "type": "security_exception"
            }
        ],
        "type": "security_exception"
    },
    "status": 401
}
http :9200 -a elastic:s3cr3t
{
    "cluster_name": "elasticsearch_zoal",
    "cluster_uuid": "wTAn5CR4Q8-AvXzyGrLzVA",
    "name": "x3swaP_",
    "tagline": "You Know, for Search",
    "version": {
        "build_date": "2018-04-12T20:37:28.497551Z",
        "build_hash": "ccec39f",
        "build_snapshot": false,
        "lucene_version": "7.2.1",
        "minimum_index_compatibility_version": "5.0.0",
        "minimum_wire_compatibility_version": "5.6.0",
        "number": "6.2.4"
    }
}
Information about the used license we can get via
http :9200/_xpack/license -a elastic:s3cr3t
HTTP/1.1 200 OK
content-encoding: gzip
content-length: 245
content-type: application/json; charset=UTF-8

{
    "license": {
        "expiry_date": "2018-09-09T15:34:15.304Z",
        "expiry_date_in_millis": 1536507255304,
        "issue_date": "2018-08-10T15:34:15.304Z",
        "issue_date_in_millis": 1533915255304,
        "issued_to": "elasticsearch_zoal",
        "issuer": "elasticsearch",
        "max_nodes": 1000,
        "start_date_in_millis": -1,
        "status": "active",
        "type": "trial",
        "uid": "167cd147-1515-4ac3-9016-118877aa1c44"
    }
}
We can update the license via PUT _xpack/license endpoint. More information can be found here
Install Kibana
Installing Kibana with homebrew is very easy:
brew install kibana
Install X-Pack Plugin into Kibana
Installing the X-Pack plugin into Kibana took significantly more time:
kibana-plugin install x-pack
Attempting to transfer from x-pack
Attempting to transfer from https://artifacts.elastic.co/downloads/kibana-plugins/x-pack/x-pack-6.2.4.zip
Transferring 264988487 bytes....................
Transfer complete
Retrieving metadata from plugin archive
Extracting plugin archive
Extraction complete
Optimizing and caching browser bundles...
Plugin installation complete
Before starting Kibana we need to set the password of the built-in kibana user in the kibana.yml file found in /usr/local/Cellar/kibana/6.2.4/config directory.
The kibana user is used for the internal requests (like the cluster monitoring APIs and accessing the .kibana index) between the Kibana server and the Elasticsearch cluster.
We need to uncomment the following two lines and set the same password which was configured during the previous setup-passwords interactive command for the built-in kibana user.
elasticsearch.username: "kibana"
elasticsearch.password: "s3cr3t"
After starting Kibana in the logs we should see that the trial license is being used.
...
log   [16:30:52.492] [info][license][xpack] Imported license information from Elasticsearch for the [monitoring] cluster: mode: trial | status: active | expiry date: 2018-09-09T17:34:15+02:00...
...
Use the Kibana Keystore the elasticsearch.password
Storing the password in plain text is not a good idea. We can use the Keystore in Kibana to store the password. First we need to create a Keystore via
kibana-keystore create
Created Kibana keystore in /usr/local/Cellar/kibana/6.2.4/data/kibana.keystore
Then we need to add elasticsearch.password entry into the Keystore and remove the elasticsearch.password from the kibana.yml configuration file.
kibana-keystore add elasticsearch.password
After restarting Kibana we should be able to login via elastic user
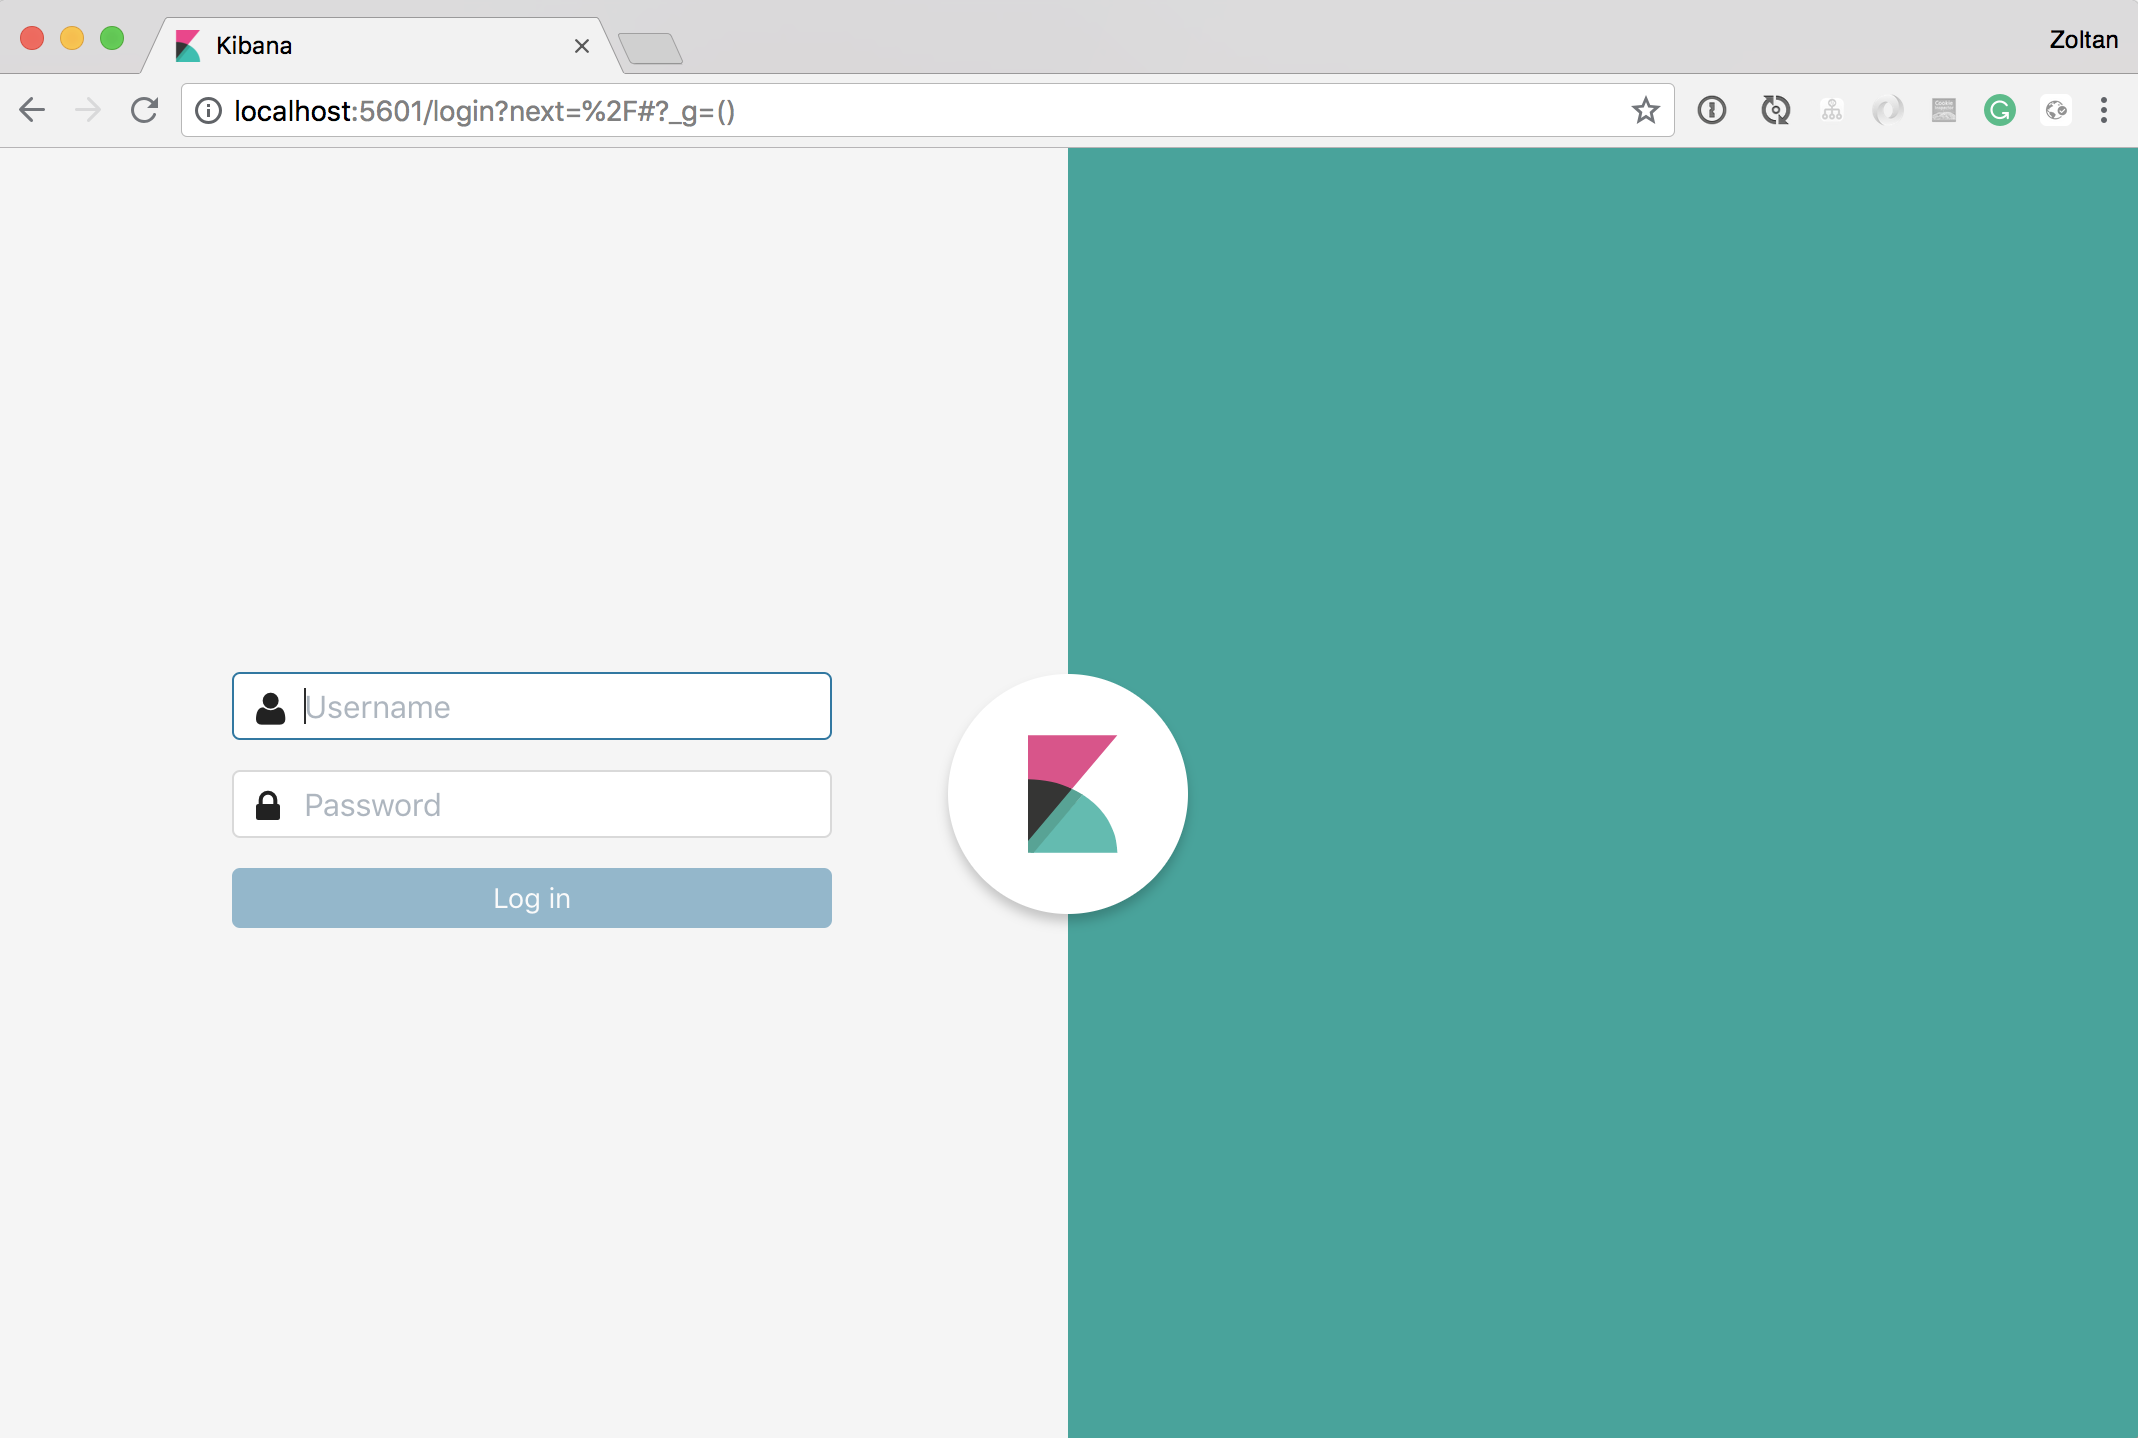
and
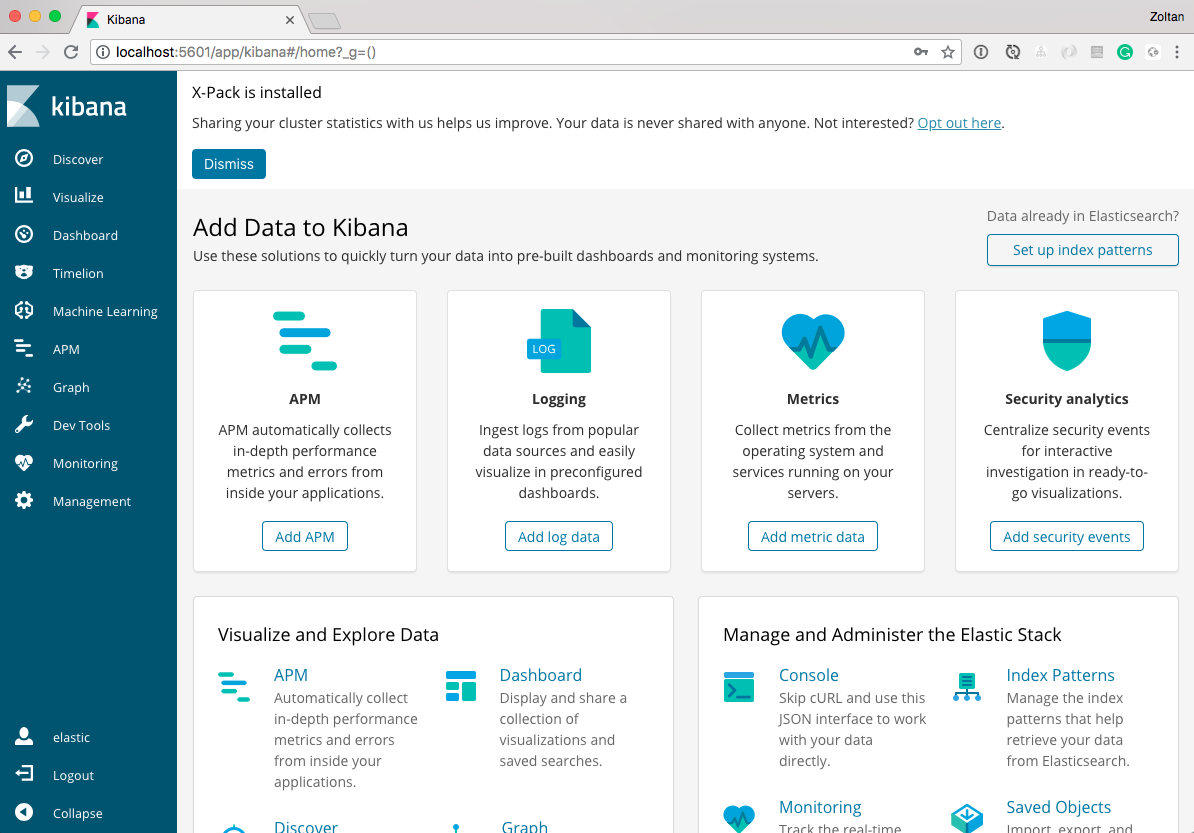
Conclusion
We have configured passwords for both the elastic user and the kibana user, and we modified kibana.yml so that Kibana can connect to your Elasticsearch using the password, and we used the Keystore to secure the password of the kibana user.